


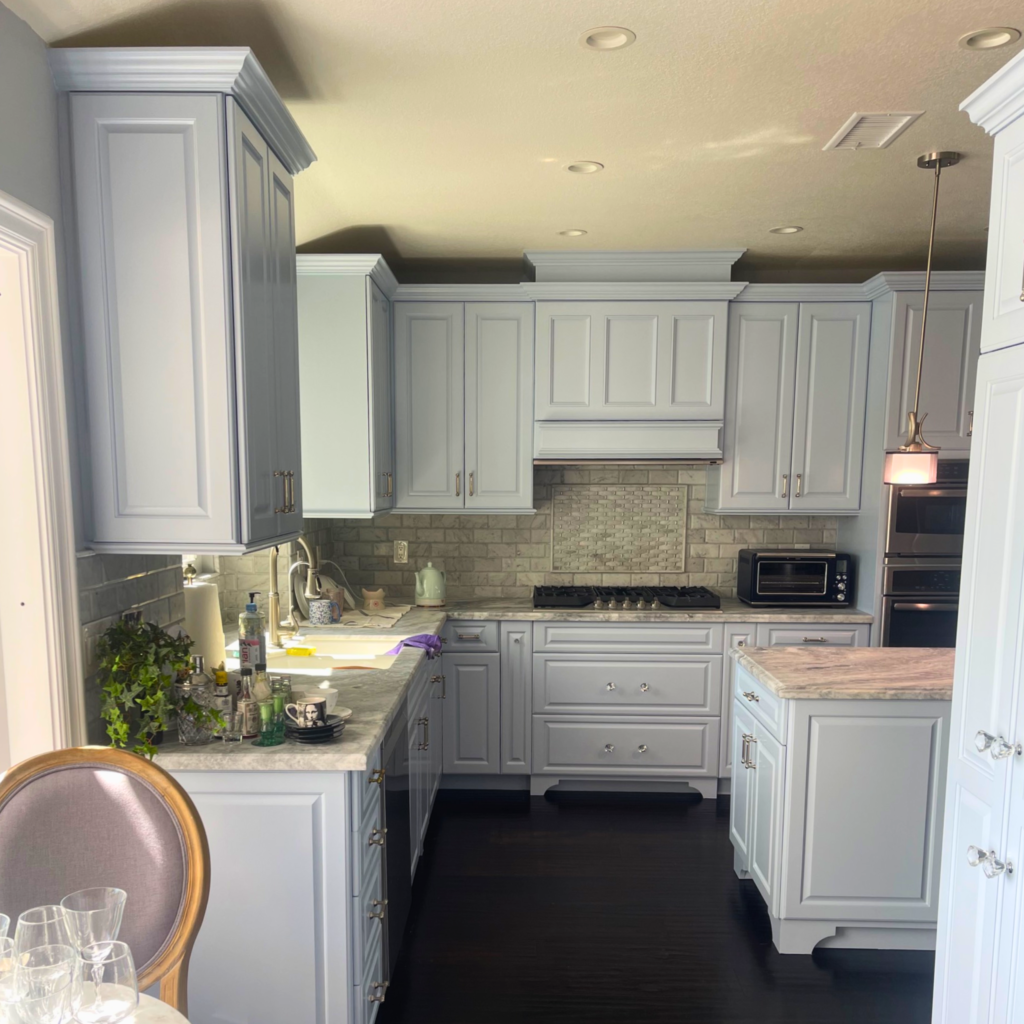
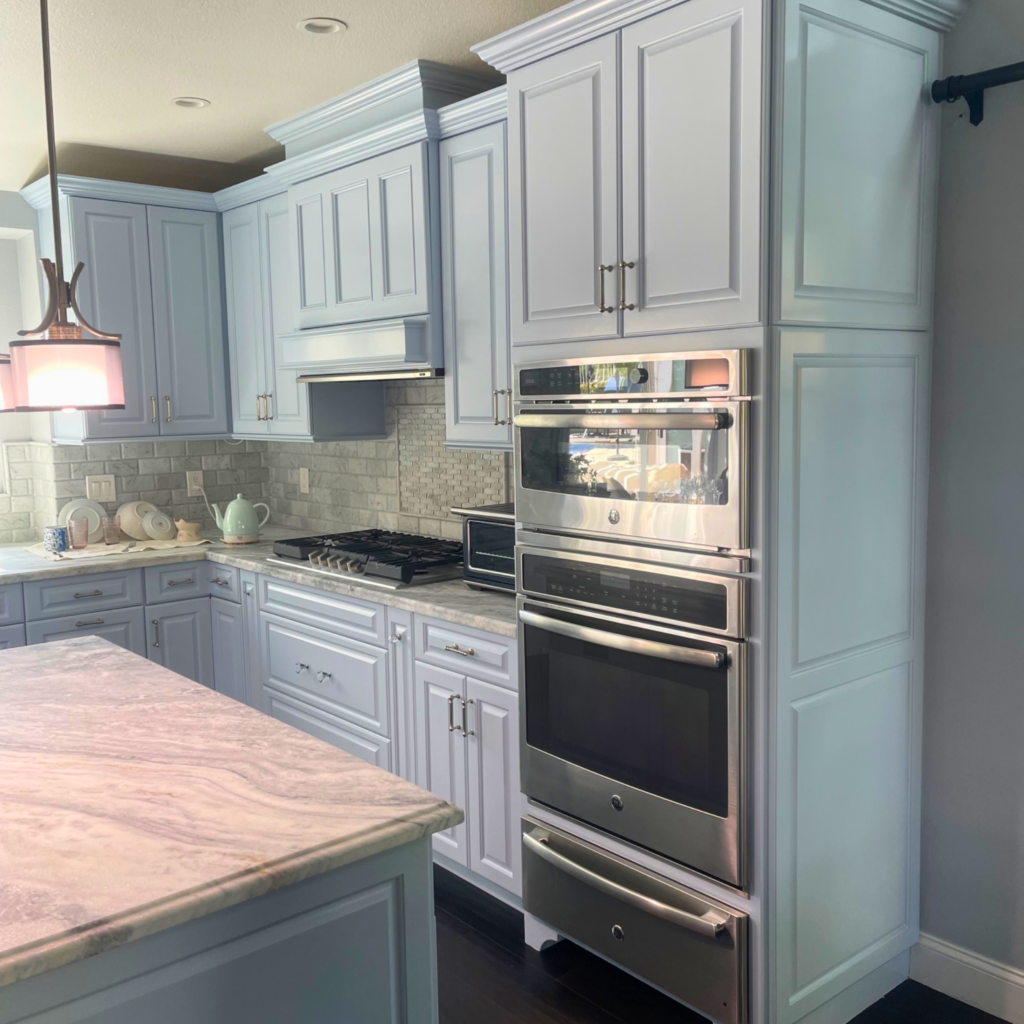
CABINET PAINTING PREP: Setting the Foundation for High-Quality Cabinet Painting
A professional cabinet painting job requires careful preparation, precision, and high-quality materials to achieve a smooth, factory-like finish. Below is our step-by-step process so you know exactly what to expect.
STEP 1: CONSULTATION & ESTIMATE
- On-site evaluation to assess cabinet condition, surface quality, and necessary preparation.
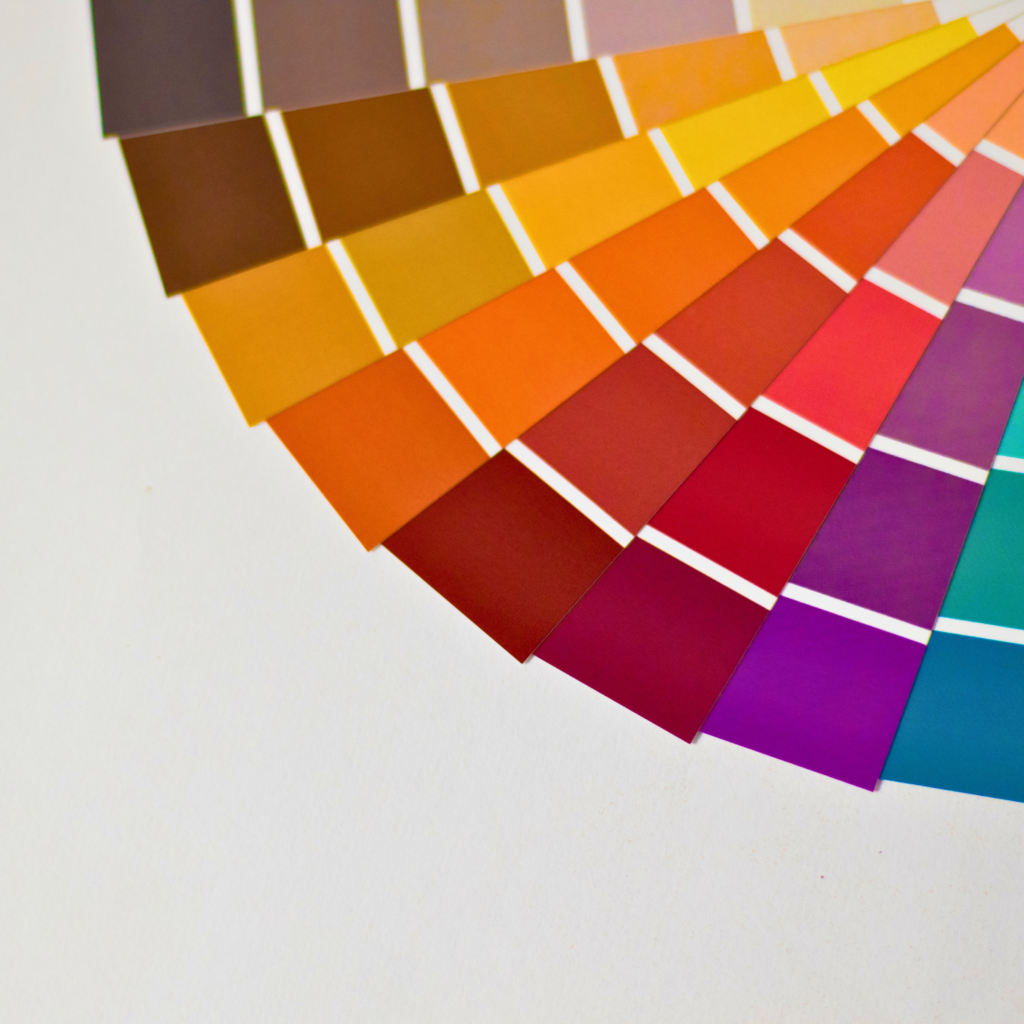
- Discussion of color options, finishes, and cabinet style (matte, satin, semi-gloss, etc.).
- Digital color rendering provided where applicable to help visualize the final cabinet finish.
- On-site color testing or sample review if needed, ensuring the selected finish matches the client’s vision.
- Detailed estimate provided, outlining costs, timeline, and step-by-step cabinet painting process.
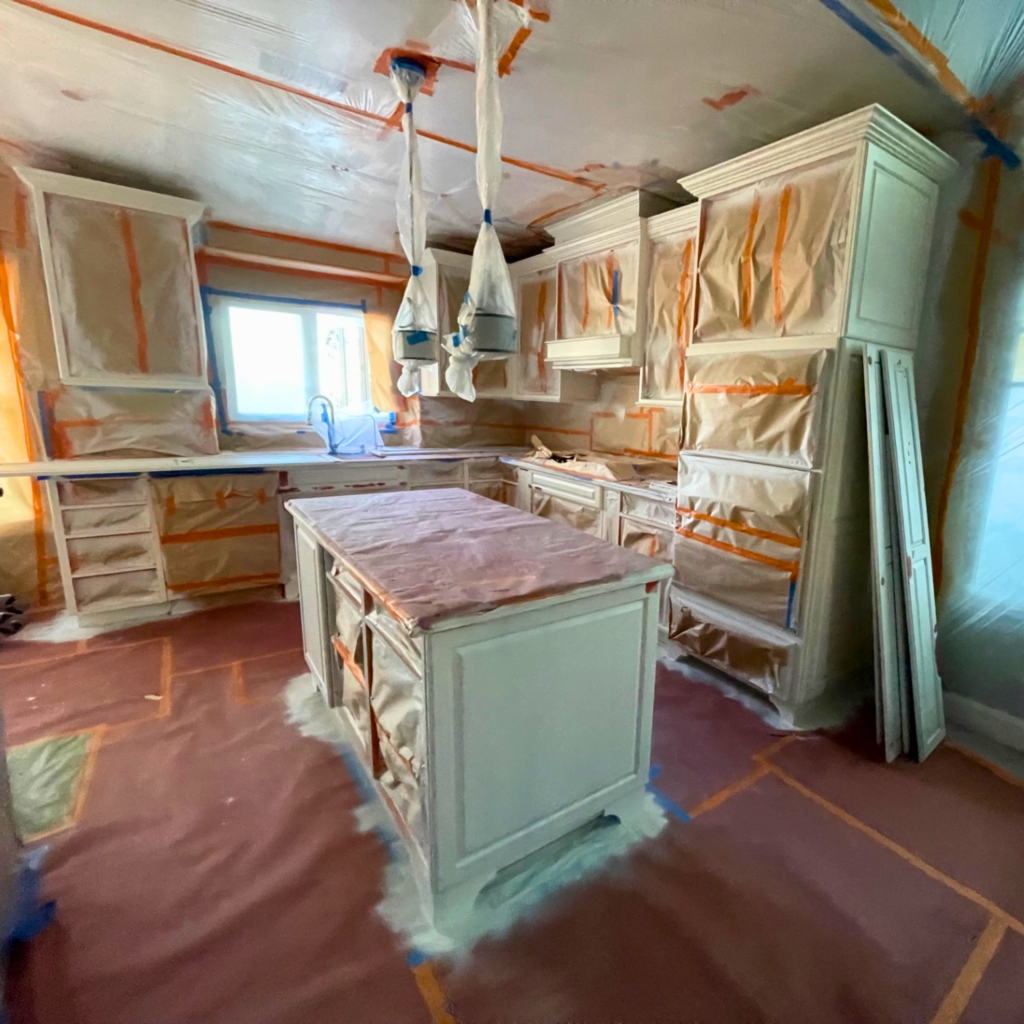
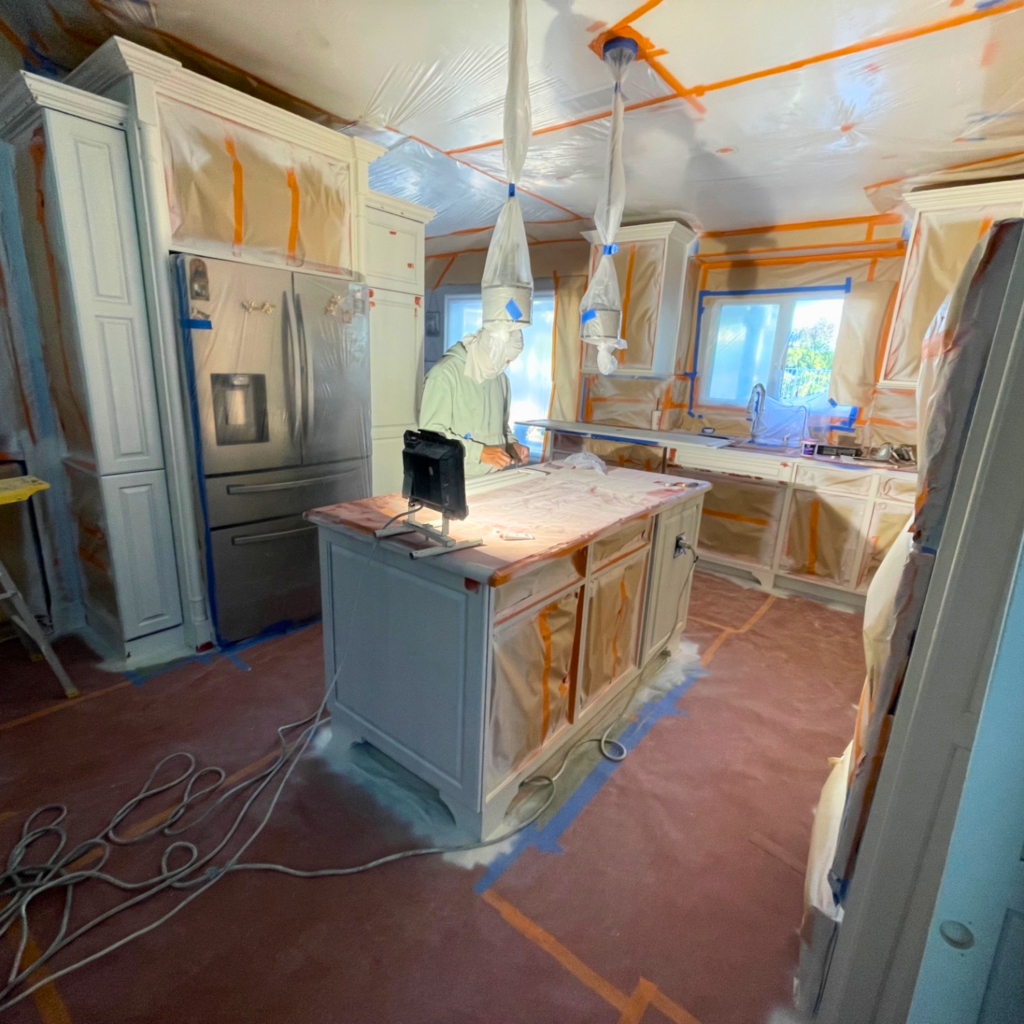
STEP 2: PREPARATION & PROTECTION
Before any work begins, we prepare the area to ensure cleanliness and safety.
- Cover floors, countertops, and surrounding surfaces
- Mask off walls, appliances, and fixtures
- Set up a clean and controlled work environment
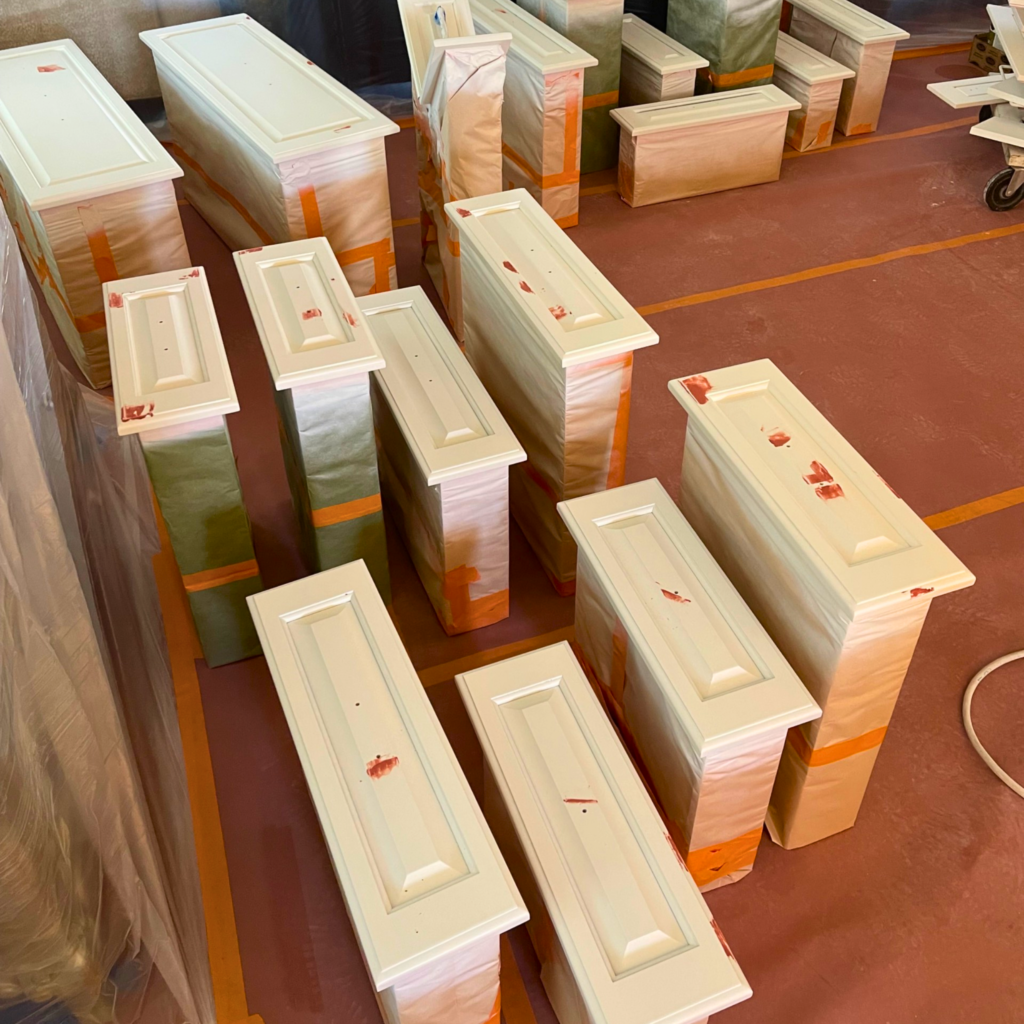
STEP 3: REMOVAL & ORGANIZATION
Proper organization ensures a smooth and efficient refinishing process.
- Remove cabinet doors, drawers, and hardware
- Label all components for proper reinstallation
- Organize parts safely during the project
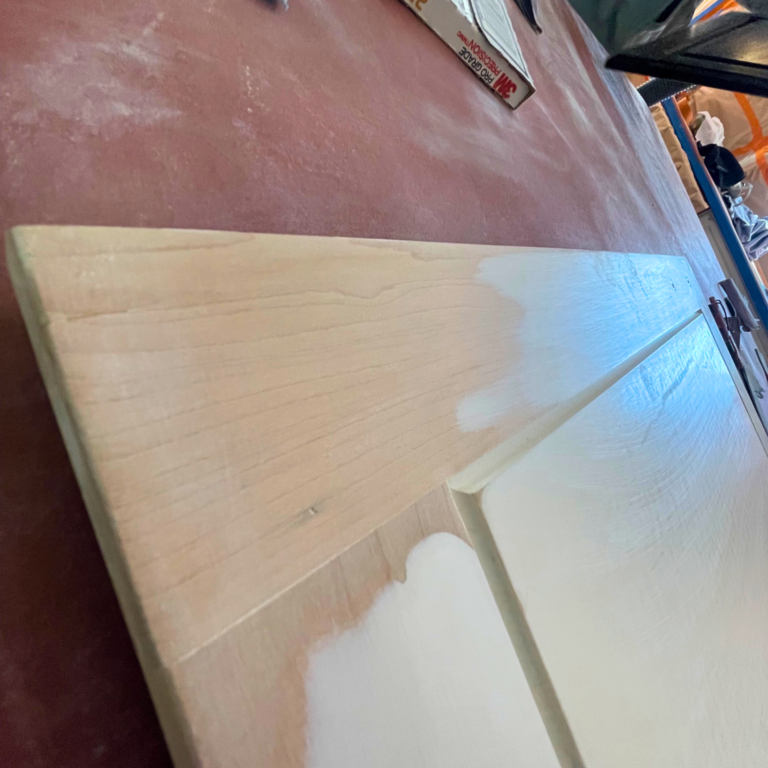
STEP 4: CLEANING & SURFACE PREP
This step ensures strong adhesion and a smooth, long-lasting finish.
- Remove grease, oil, and buildup from all surfaces
- Clean and prep cabinets for proper paint adhesion
- Fill dents, scratches, and minor surface damage
- Repair imperfections on doors, frames, and panels
- Lightly sand and smooth surfaces for an even finish
- Ensure all surfaces are clean, repaired, and paint-ready
STEP 5: PRIMING
Primer is essential for durability and adhesion.
- Apply high-quality bonding primer
- Seal surfaces for better paint grip
- Prevent stains or bleed-through
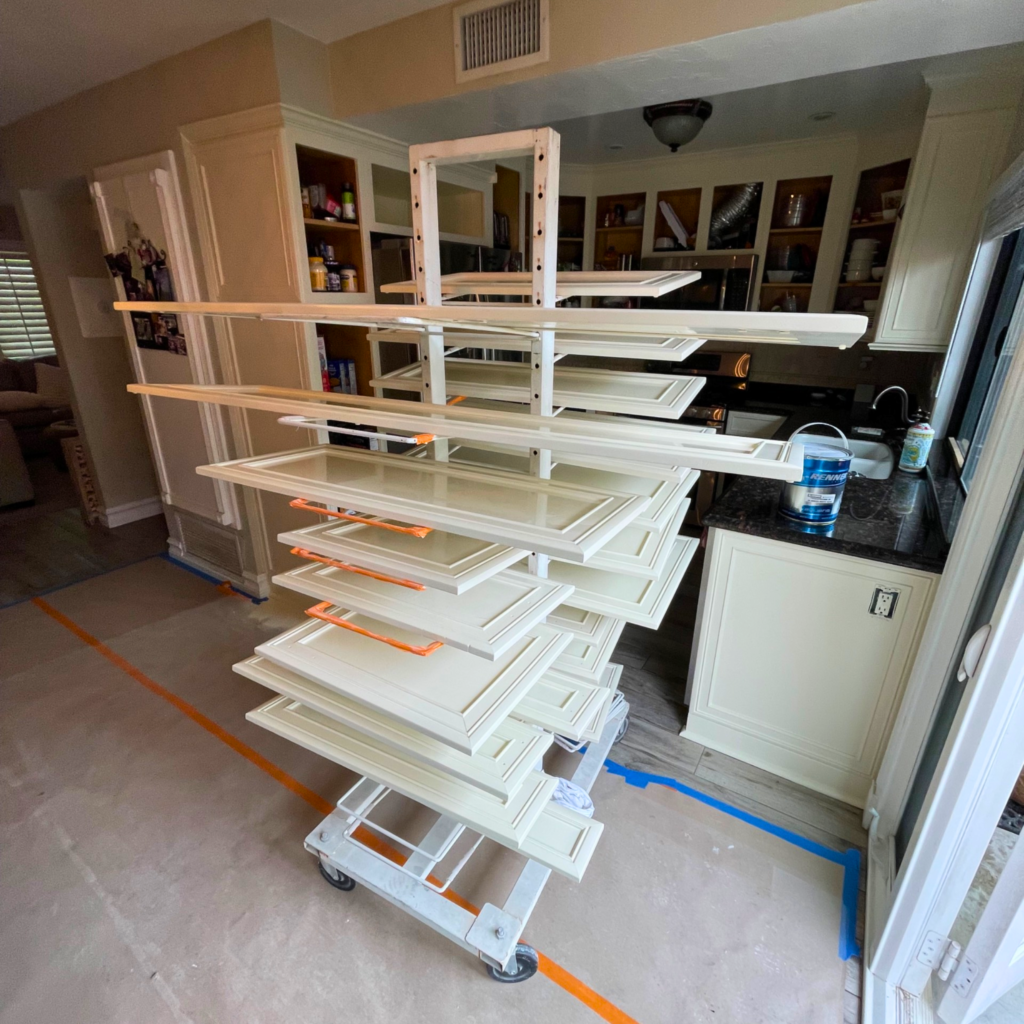
STEP 6: PAINT APPLICATION
We use professional techniques for a flawless finish.
- Apply paint using spray or fine-finish methods
- Use multiple thin coats for smooth coverage
- Ensure even color and consistent texture
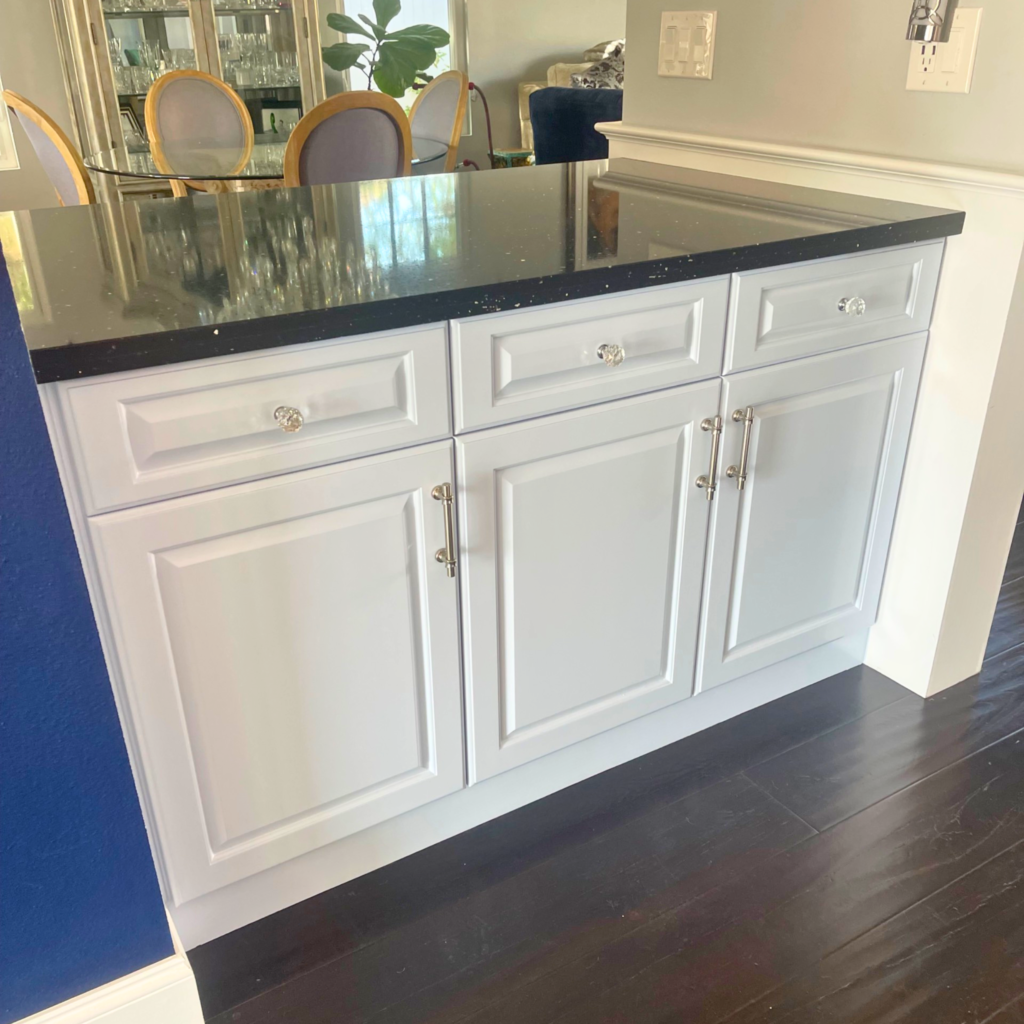
STEP 7: REASSEMBLE
After painting, everything is carefully put back in place.
- Reinstall doors, drawers, and hardware
- Ensure proper alignment and function
- Make necessary adjustments if needed
STEP 8: FINAL TOUCHUPS
Final adjustments are made to ensure a flawless finish.
- Inspect all cabinet surfaces for minor imperfections
- Correct any uneven paint or small defects
- Smooth out finish inconsistencies if needed
- Clean up any small paint marks or residue
STEP 9: FINAL WALKTHROUGH
Final steps ensure everything is complete and approved.
- Review all cabinet surfaces with the client
- Check color consistency and overall finish quality
- Inspect doors, drawers, and hardware alignment and function
- Confirm client satisfaction with completed work
- Approve project completion
Find Out What Our Clients Say
Customer Satisfaction Is Our Ultimate Goal
EXCELLENTTrustindex verifies that the original source of the review is Google. H&S Brushwork did a project for my wife on a second home we have. The work done was exceptional, and she was very pleased.Posted on GoogleTrustindex verifies that the original source of the review is Google. Best Quality, Fair Pricing close attention to detail, and timely, all that one would want in their painting project!Posted on GoogleTrustindex verifies that the original source of the review is Google. Great painters! Whether you want one room or the whole house painted. They will do small or large jobs. Very happy with Jonathan and his crew. Thank you!Posted on GoogleTrustindex verifies that the original source of the review is Google. If there was a 10 star rating, Jair and his team would get an 11! I very worried about finding a painter that could do my “detailed” kitchen cabinet painting. I had interviewed 2 other companies, but nothing like Jair from H+S! He was completely understanding of my needs, saw my same vision and then executed with his team. The team was a pleasure having in my home. Respectful, Detailed, immaculate hard workers. no dilly dallying, loud music blaring, just down to business! My kitchen looks brand new and the cabinets exceeded my expectation. If you are looking for the best, you have found it here! Don’t hesitate to pick up the phone and call. You will be thrilled with the results!Posted on GoogleTrustindex verifies that the original source of the review is Google. H & S Brushworks Painting has been a great company to work with. The painter arrived on time, was efficient with his time and did a pretty good job with the prep work and painting. The pricing was also reasonable for the work I needed to get done. Overall, I was pretty pleased with the result.Posted on GoogleTrustindex verifies that the original source of the review is Google. Paint was amazing the color was exactly the same color I wantedPosted on GoogleTrustindex verifies that the original source of the review is Google. EXCELLENT JOB!!!!Posted on GoogleTrustindex verifies that the original source of the review is Google. I just returned from a week-long vacation to what felt like a brand new home! Jair was very thorough throughout the process for our exterior paint job. He also kept me updated with pictures to show the progress, which made it easy for me to enjoy my trip. The exterior looks fantastic, and I’m very happy with the results. Huge thanks to Jair and his crew!Posted on GoogleTrustindex verifies that the original source of the review is Google. My experience with h&s brushworks painting exceeded my expectations. Their bid was competitive, they met their schedule commitments, and the workmanship was very good. When I need painting services again in the future, I'll contact h&s brushworks without reservation.Posted on GoogleTrustindex verifies that the original source of the review is Google. We reached out to H&S Painting for an interior painting quote and they were very responsive. They scheduled an on-site estimate quickly and took the time to review the project with us in detail. Jay explained the whole process and what we could expect from start to finish. The crew delivered exactly what was described and the results turned out great. They were also very careful about protecting our furniture and floors. Thank you to Jay and his team for making the whole project smooth and delivering such great results.🤩
Local Experts Serving Southern California
Expert Painting, Repair, and Installation Services
- Orange County
- Los Angeles
- San Bernardino
- Riverside County
From painting your interior to repairing drywall, our skilled team offers dependable and affordable solutions for your home or business.
We proudly serve Orange County, Los Angeles, San Bernardino, and Riverside County. Contact us today at 714-381-2400 or easily schedule an appointment online!